API Source
Connect your non-Shopify website to Elevar and get the scripts for tracking.
Overview
Follow this guide to learn how to configure the API Source in Elevar. The API Source allows you to connect a non-Shopify website to Elevar so events can be captured, enriched, and forwarded to your configured destinations.
Before starting, you must contact your Elevar representative or support team to enable the API Source for your account.
Setting up the API Source includes:
- Configuring your domain details
- Setting up browser scripts for client-side tracking
- Optionally configuring server-to-server tracking
- Setting up consent integration
TIP
If someone from your team already completed the API Source setup, you can skip directly to the Browser Setup section to retrieve the scripts needed for your website pages.
Domain Details
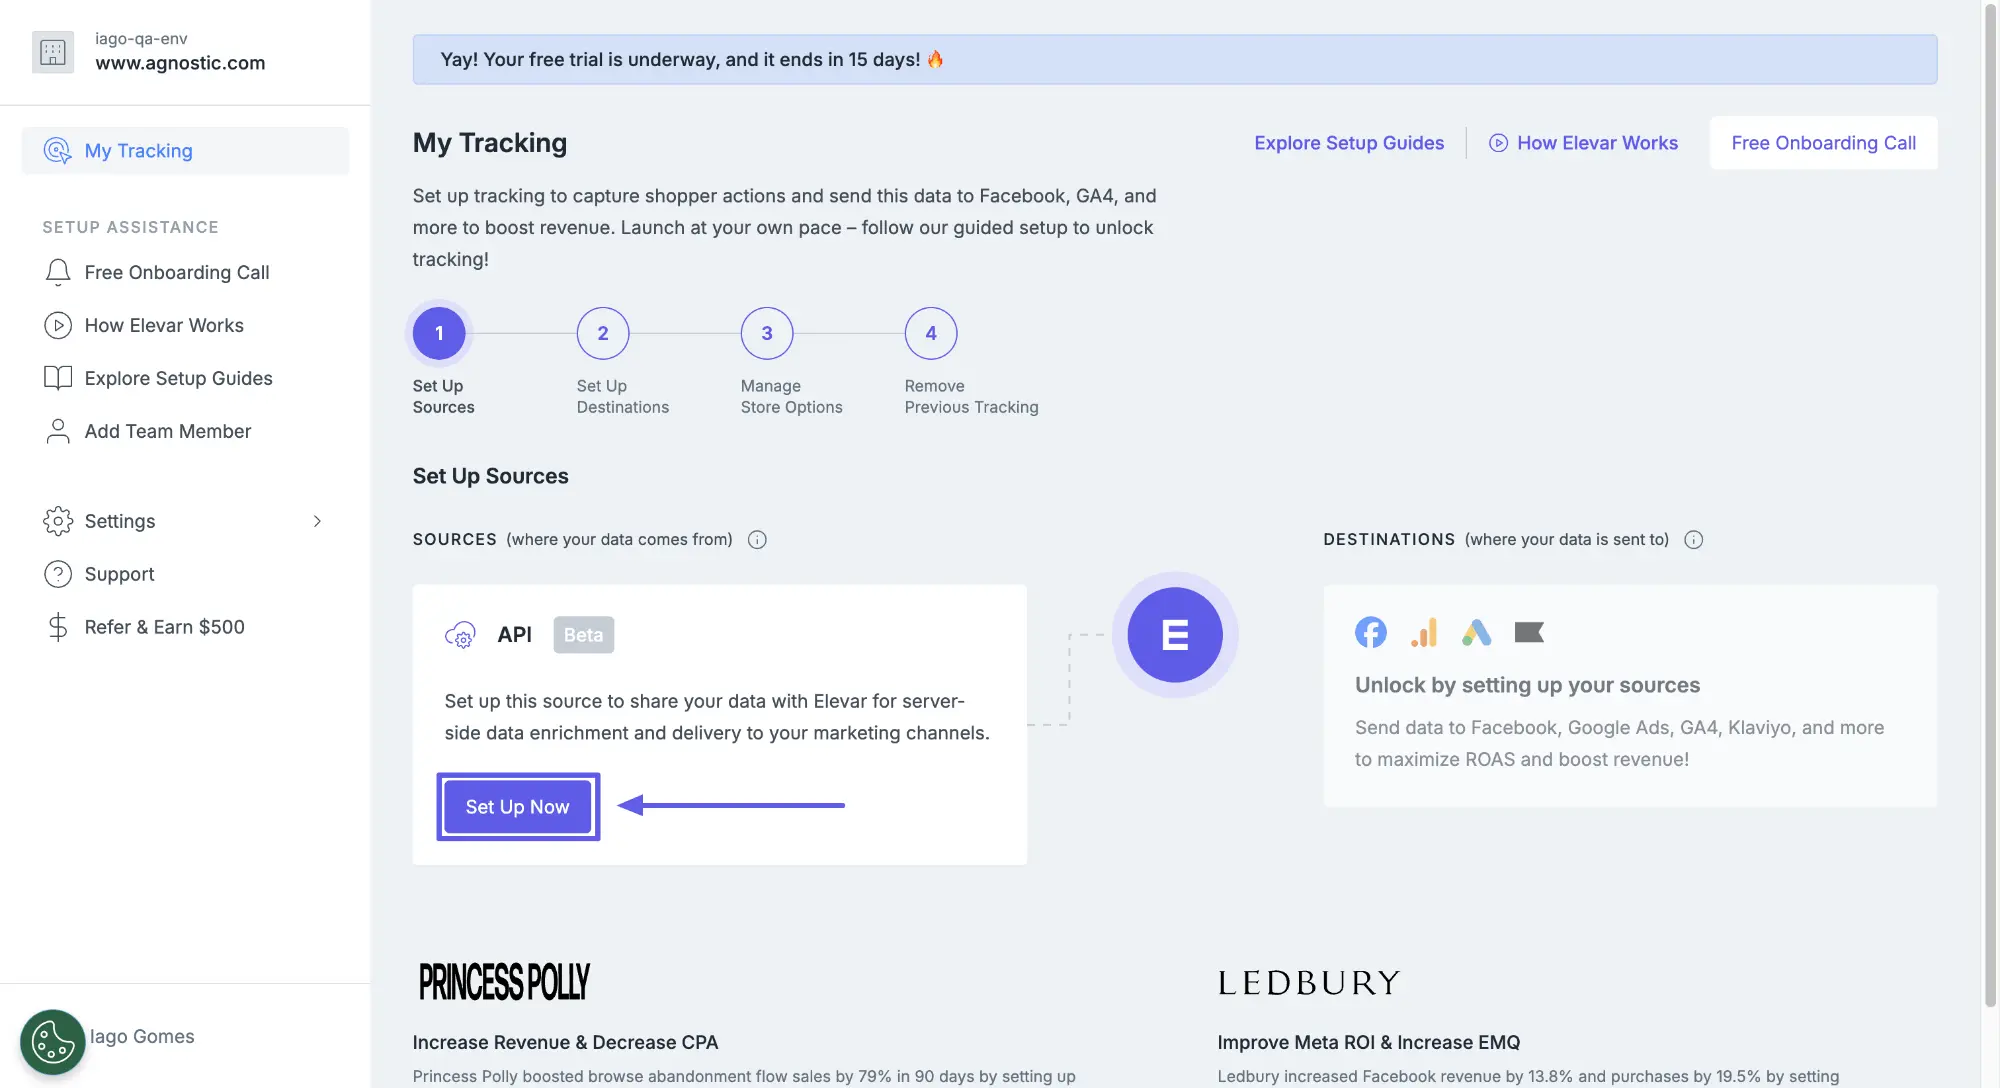
After your Elevar account is ready, navigate to My Tracking and click Set Up Now on the API Source card to begin the setup process:
Click Get Started in the API Source overview, then in Domain Details:
- Answer whether you have multiple subdomains (e.g.,
blog.website.comandshop.website.com) - If you select Yes, enter your overarching domain (e.g.,
website.com)
WARNING
Use your root domain (e.g., example.com), not a subdomain. This ensures proper cross-domain tracking and attribution. For more details, see Overarching Domain.
Click Save & Continue to proceed.
Browser Setup
Copy the browser script provided in this section, you'll need it for the Install Scripts guide.
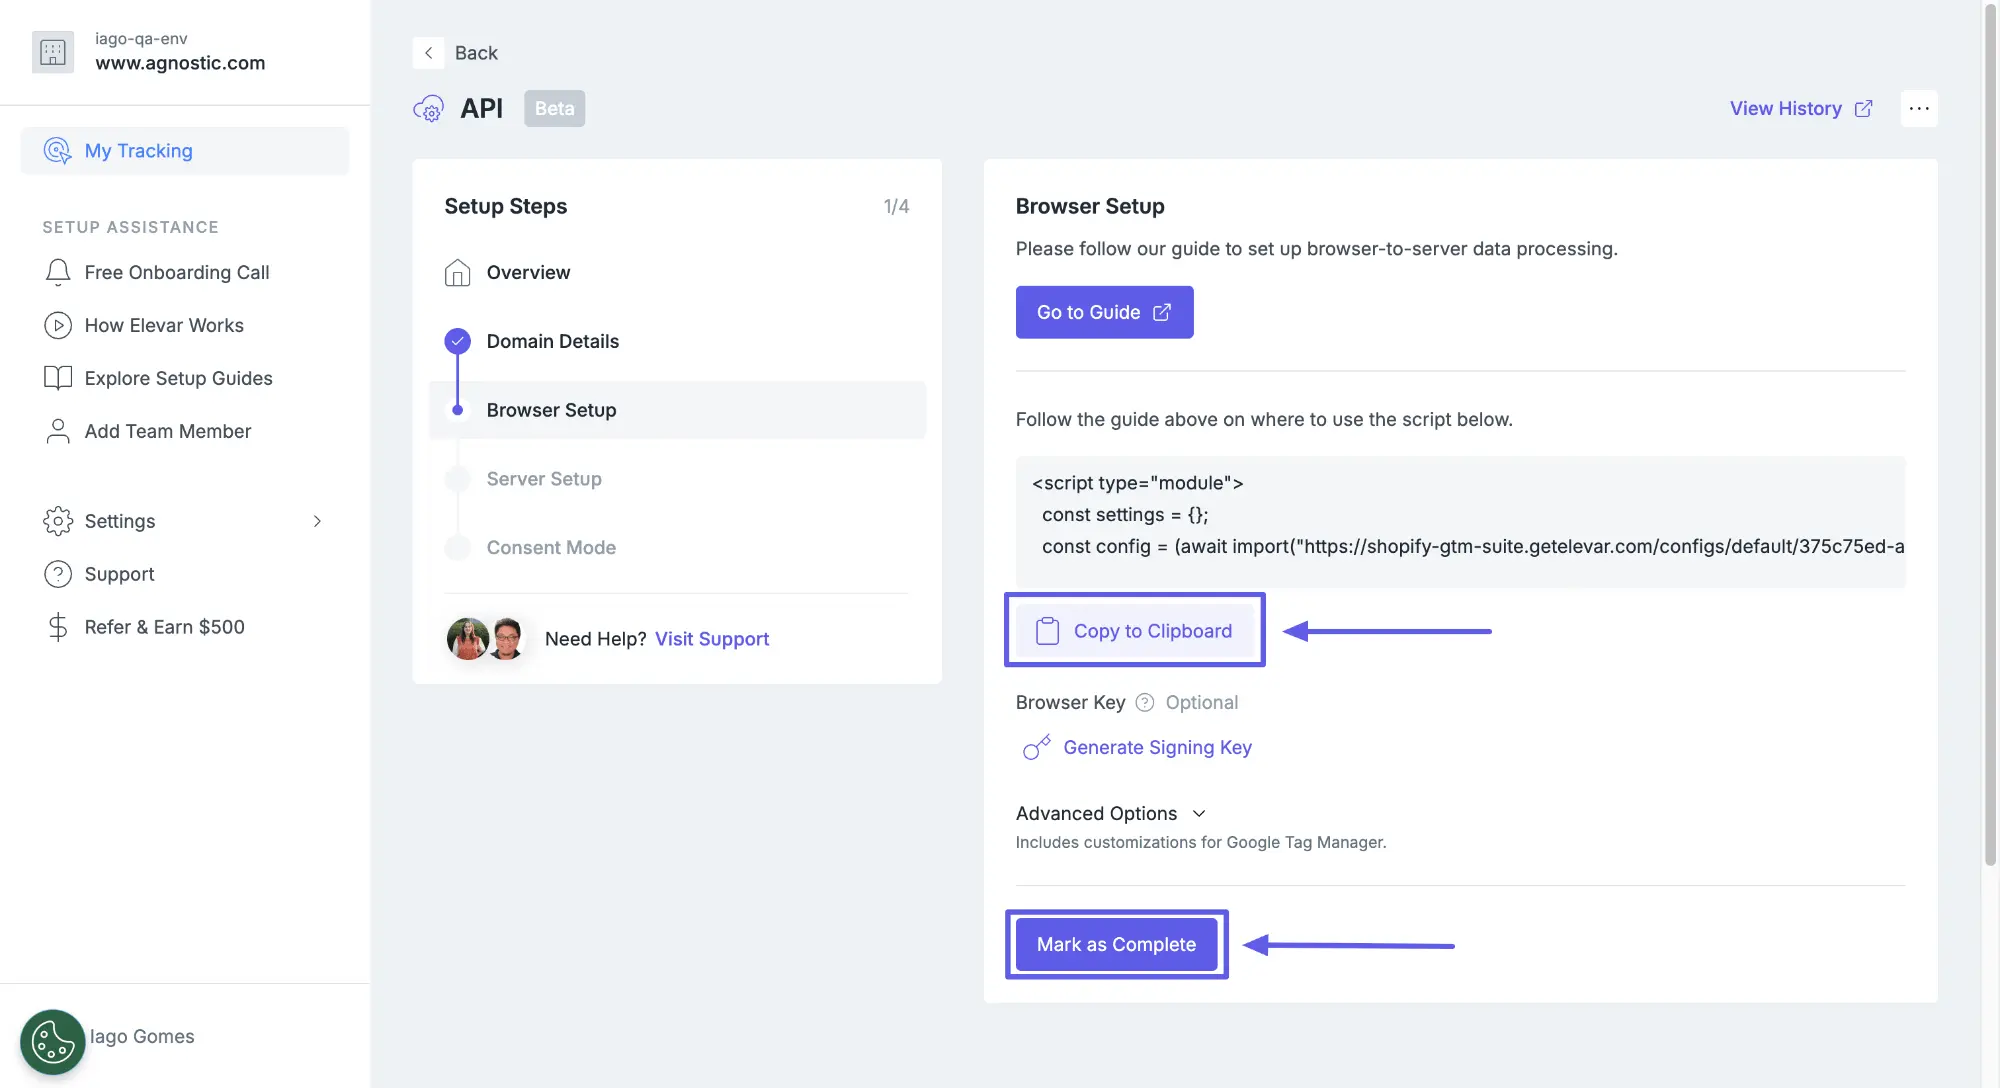
If this is your first time setting up the Elevar app, you must click Generate Signing Key. This signing key allows our servers to verify and process your browser events. Without a valid signing key, browser events will be ignored.
Configure Client-Side Tracking
Under Advanced Options, decide whether to Allow Google Tag Manager for client-side tracking:
![]()
- Using Elevar (Recommended): Leave unchecked and Elevar will manage client-side tracking automatically during destination setup
- Using Google Tag Manager: Check the box if you want to use your own GTM container for client-side tracking
Click Mark as Complete to proceed.
Server Setup
Select whether you'll send server-to-server events in addition to browser events.
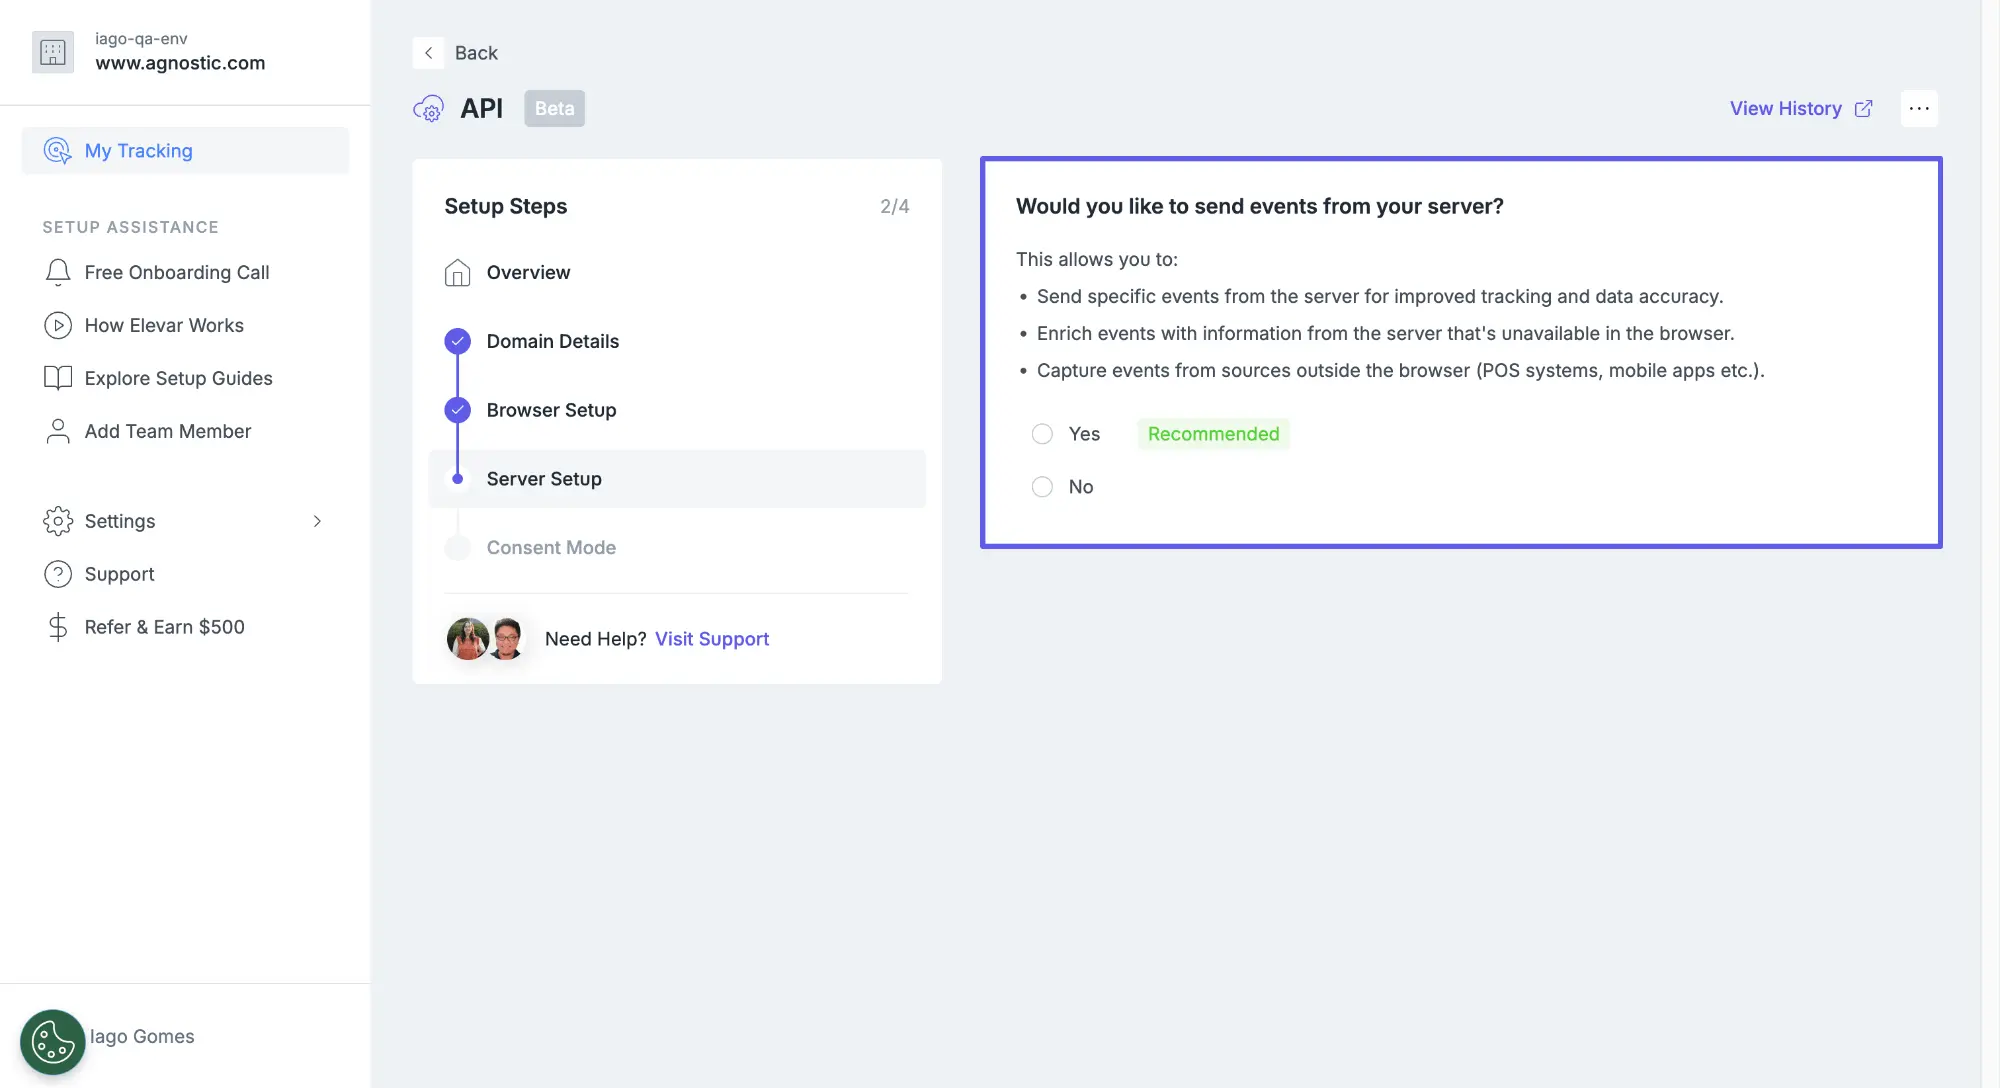
- Select Yes if you plan to send events from your server for improved tracking accuracy
- Select No if you're only implementing browser-to-server events
TIP
For detailed implementation instructions on server-to-server tracking, see the Server Setup guide.
Click Save & Continue to proceed.
Consent
Configure how Elevar handles user consent:
- Choose whether to enable Consent integration
- If enabled, select consent fallback behavior when consent choices aren't received
INFO
The source where Elevar reads consent signals depends on your client-side tracking method:
- Using Elevar: You need to manually integrate your CMP with Elevar's Consent API
- Using Google Tag Manager: Reads from Google Consent Mode
Click Save & Continue to finish the API Source setup.